Tools tab
> Appointments
Tools tab
> Appointments Note: This section only applies if you are using EZClaim Premier’s Scheduling software.
Tools tab
> Appointments
The Billing program will import appointments with the ‘billable’ status. Whether an appointment is billable can be configured in the Scheduling program setup.
Import Appointment Screen:
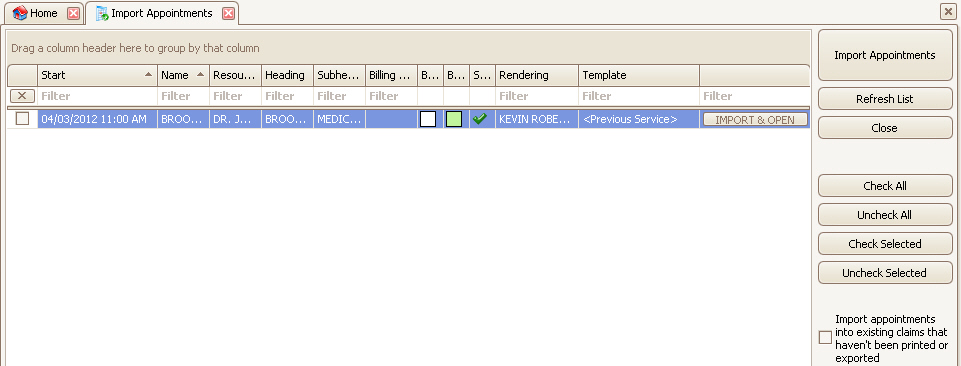
1. Click the ‘Check All’ button or select the appointments to import.
2. Click the ‘Import Appointments’ button. You will receive a confirmation message that the appointments were imported.
If you would like to import the appointment and edit the claim immediately, use the ‘Import & Open’ button available on each appointment row. This will create the claim based on the appointment data and open the claim for editing.

The claim will be created using the template shown in the ‘Template’ column. You can change this template before importing if needed.
If using the ‘Import appointments into existing claims’ is checked, the template shown on this import grid will be used (even if there was a different template used on the existing claim).
If the appointment’s claim template is set to ‘<From Patient>’, then the import grid will be set to the patient’s claim template.
The claim will be populated with the rendering provider shown on the grid. If you do not see the rendering provider column, restore the grid or add the column using the column chooser.
The rendering provider is set to the provider associated with the appointment resource or the claim template used. Scheduler resources and their associated rendering providers are configured in the Scheduler setup.
If the Claim Template used to create the claim is changed on the import grid and the appointment rendering provider is blank, the rendering provider will be updated. If the rendering provider is already present, changing the claim template will not change the rendering provider.
Institutional Note: If the primary claim is an institutional claim, the program will look for an attending provider in the physician library that matches the rendering NPI. If found, the program will populate both the attending provider and the rendering provider. There is logic within the program that will prevent the rendering from being exported or printed if it is the same as the attending.
If an appointment is not showing in the list and the appointment status is ‘billable’, it is likely that the appointment has already been transferred. To verify this, add the ‘Claim ID’ custom column to the appointment detail screen in the Scheduler. You can then look up the claim in the Billing system using the Find Claim window.
If the claim ID is 0, then the appointment has not been transferred. If the ID is -1, then the appt has been marked to not transfer.

If this box is checked, the program will add the appointment service lines into an existing claim if the following conditions are met:
•The claim and appointment are associated with the same patient.
•The claim has not been printed or exported.
•The claim status is not ‘Submitted’.
•The claim ‘Bill To’ set to ‘Primary’.
•The claim and patient have the same primary Payer. This will catch situations where the patient has switched insurances since the last appointment.
•The claim and patient have the same primary Insured’s ID #. This will catch situations where the patient has switched insurance plans since the last appointment.
•The claim and patient have the same primary Group #. This will catch situations where the patient has switched insurance plans since the last appointment.
•The claim’s primary Authorization # matches the appointment’s Authorization #.
•For professional claims, the claim has the same rendering physician that is selected in the ‘Import Appointments’ grid.
•For institutional claims, the claim has the same attending provider that would be used on the claim. See Rendering Provider for more information on attending provider selection.
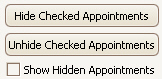
If an appointment should not be imported for some reason and it continues to be shown on the list, check the box next to appointment and click the ‘Hide Checked Appointments’ button. If you need to import the appointment in the future, check the ‘Show Hidden Appointments’ check box.